|

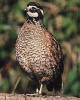
Bob White |
|
 |
QUAIL |

|
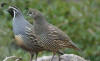
The
Chinese and Japanese Quail, in the Main pictures below,
are cheap to buy and are ideal to have on the floor of
an Aviary to clean up spilled seed.
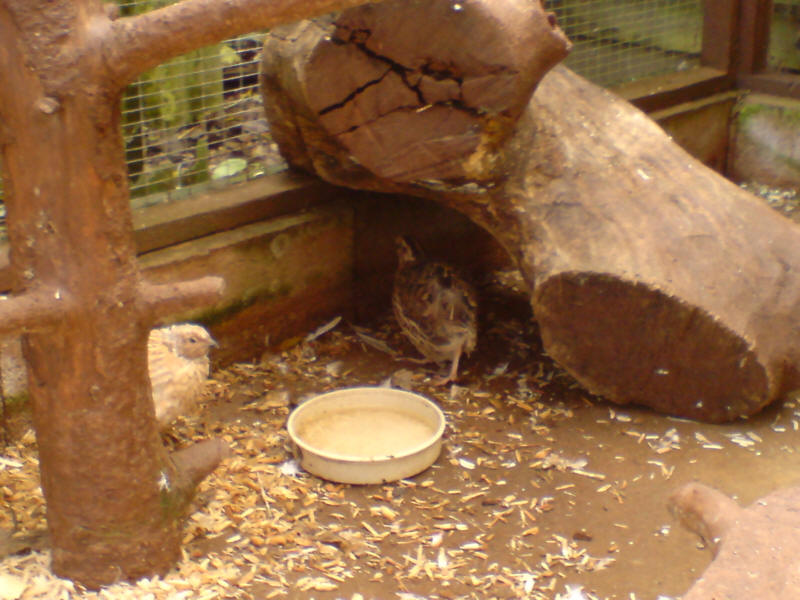
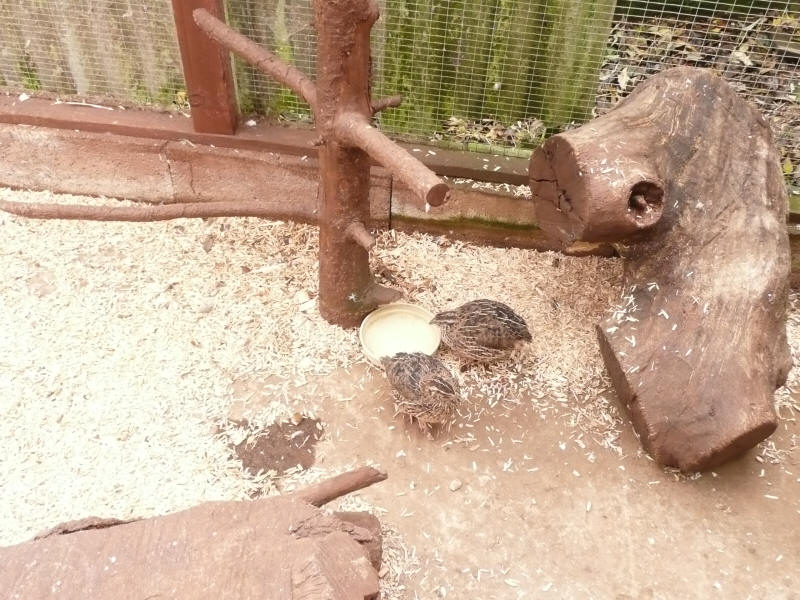
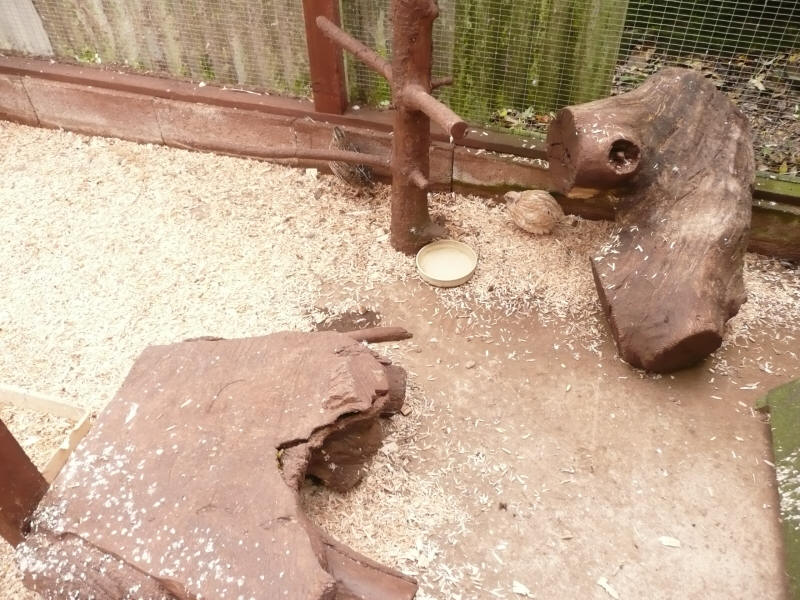
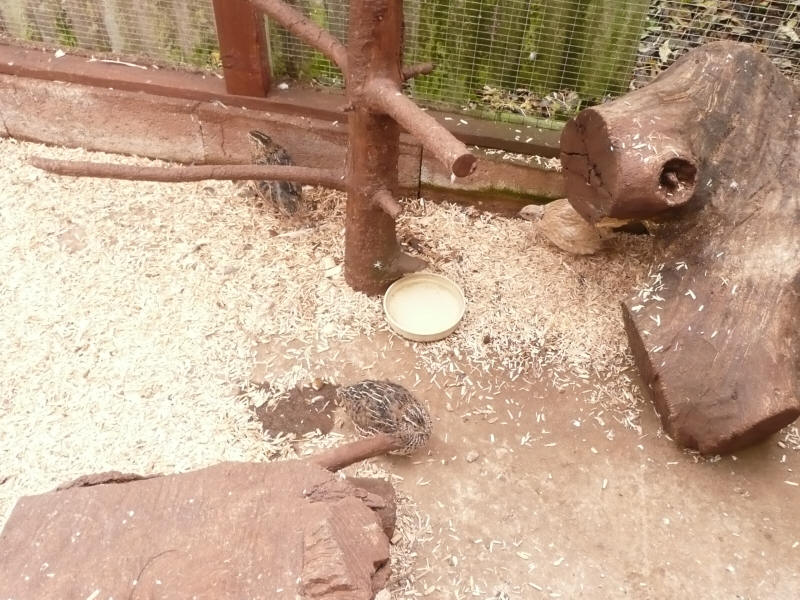
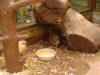
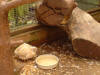
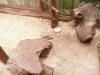
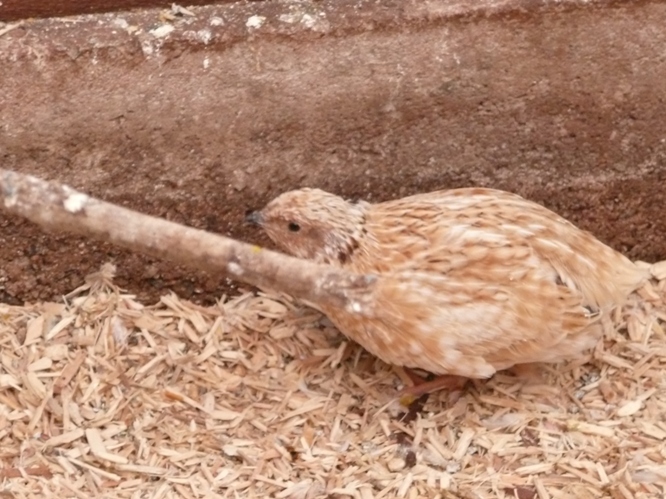
They like logs
and hidey holes to rest in. (see pics)
The hens will lay eggs which
can be
used in salads etc. or sold as a delicacy.
The Cock birds do tend to "harass" the Hens, so it is
always better to keep your Quails in Trios
i.e. 2 Hens with one cockbird.
Click on the pics to enlarge |
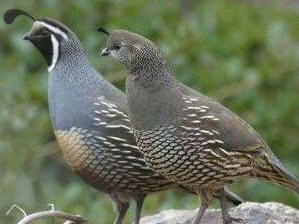
Californian
Pair |
|
|
|
|
Bobwhite Quail
|
|
|
|
Californian Pair of Quail
|
|
|
|
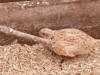
Jap Quail
|
|
|
|
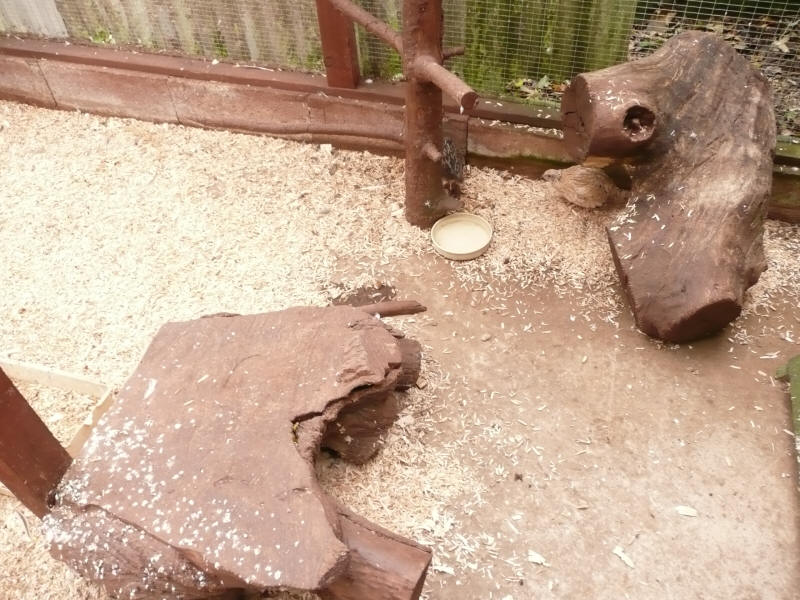
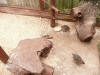
Log to add interest and a place to hide/rest
|
|
|
|
Italian Quail Cock
|
|

|
|
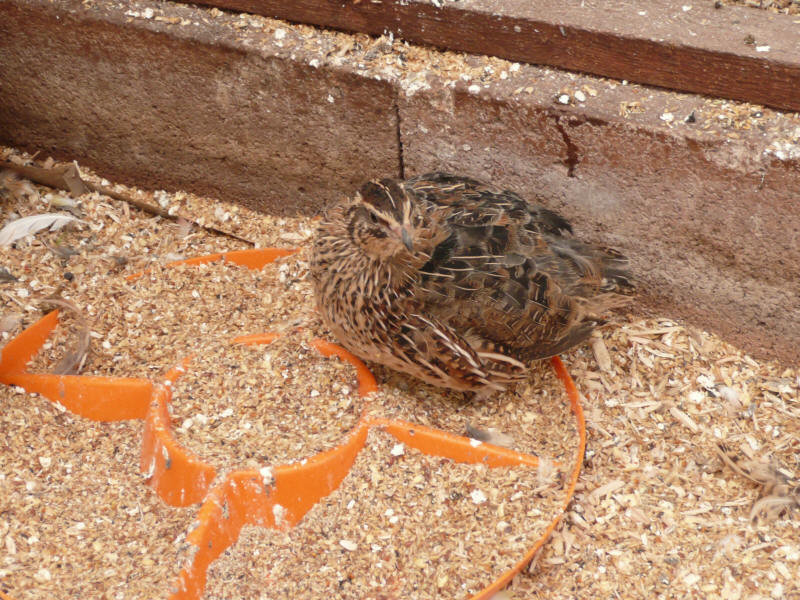
Jap.Quail Hen
|
|
|
|

|
|
Jap.Quail Hen
|
|
|
|
Italian Quail cock
|
|
|
|
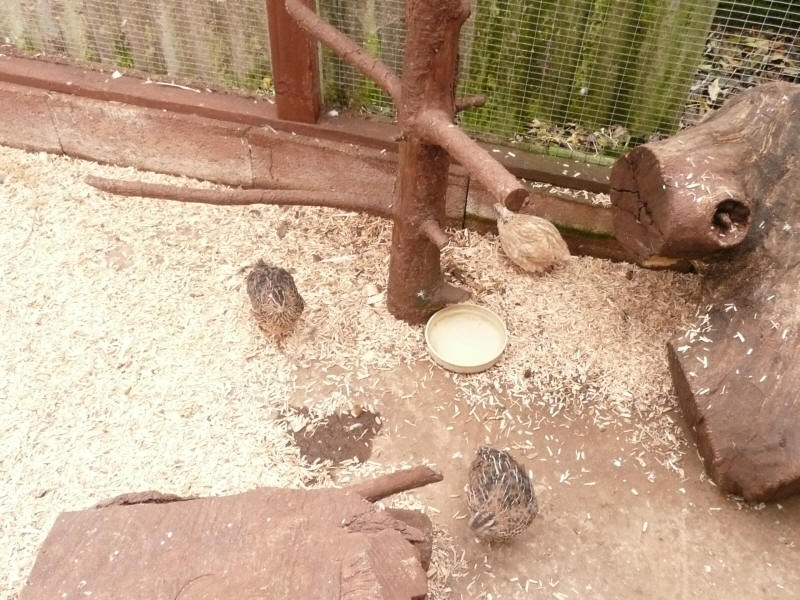
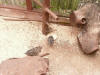
Jap Quail hens
|
|

|
|
2 Jap Hens 1 Italian Cock
|
|
|
|
Quail showing logs they use to shelter and rest under
|
|
|
|
|
|
|
|
|
|
|
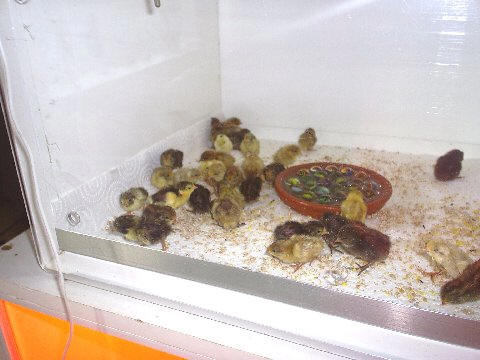
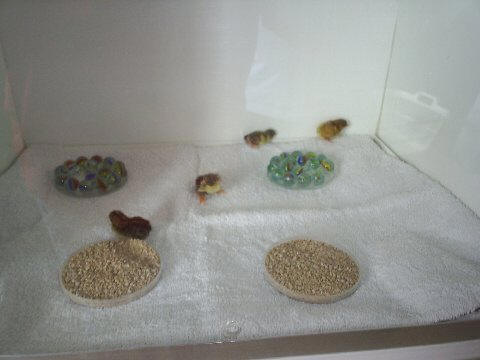
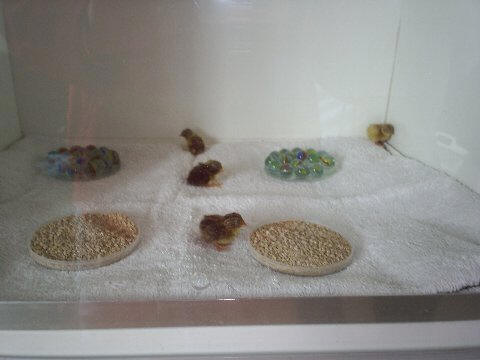
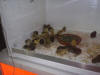
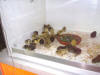
Newly Hatched Baby Chinese Painted Quail
|
|
|
|
Newly Hatched Baby Chinese Painted Quail
|
|
|
|
|
|
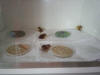
C P Quail - marbles in water to help prevent them drowning
|
|

|
|
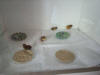
Newly hatched C.P.Quail - dishes with chick crumbs
|
|

|
|
Newly Hatched Baby C. P. Quail + Eggs
|
|
|
|
Newly hatched C.P.Quail
|
|
|
A few basic observations from
a first-time Quail breeder (John W.)
Collection &
Storage of Quail Eggs prior to Incubation
- If you have a
lot of eggs - keep them in a cool, dry place.
- They can be
stored at approx 15⁰C
prior to putting into incubator.
- Max period
of storage is 1 week.
- Usually
store on their sides
- Gently
rotate the eggs each day to help prevent the yolk from
rising to the top and sticking
- DO NOT PUT in
FRIDGE
- Put all
eggs in the incubator together, so they hatch as close
together as possible.
- Any
significant difference in hatching times can mean a big
difference in size and development of resulting chicks and
can lead to bullying of smaller chicks by bigger chicks
(from the age of 2weeks and sometimes younger)!
INCUBATION (Incubator)
- The
larger Japanese (darker coloured) and Italian
(fawn-coloured) Quail = 17-18 days
- The
smaller Chinese painted Quail incubation takes approx
16 days
-
Temp. 37.5⁰
C approx 55 - 60% humidity
- Eggs
must be turned (on automatic rollers in the incubator or
by hand) at least 4 times per day pref. more often.
- If you
use tilting trays in your incubator - the Quail eggs
should be blunt end UP.
- This
is the end that develops the Air Space and ultimately
the chick chips thru this membrane (internal Chip)
and
takes it's first "breath" before setting about chipping
thru the shell (external chip).
-
Internal Chipping usually starts 2 - 3 days prior to
hatching.
-
Approx. 2 days before Hatching due turn the "Turn"
facility OFF or if doing it by hand - stop.
- At
this time "up" the humidity to maximum (70-85%)-
using wet sponges in the incubator is an ideal way.
-
This extra humidity helps prevent the quail chicks
from sticking in the shell and helps them rotate
their way out.
-
Also, lower the temp by 1⁰C
to 36.5⁰C
-
The chick generates it's own body heat when it is
chipping it's way out of the shell
-
Out of 60 Japanese Quail eggs put in incubator
together - 50 hatched and all within 2 hours
of each other!
-
Use kitchen paper on the bottom of the Brooder to
help prevent the chicks slipping and ending up with
splayed legs.
-
You can sprinkle some starter feed inc. Niger seeds
on the kitchen paper to encourage them to start
pecking
for food fairly soon after they hatch.
HATCHING (Brooder/Hatcher)
-
Newly-hatched chicks are very small and will
need extra heat for the first 3 - 4 weeks until
fully feathered.
-
Keep the heat to approx 35⁰C
(95⁰F)
during the first week.
-
Reduce the heat by approx 3.5⁰C
per week -
-
Also, observe the chicks - if they are
holding their wings away from themselves -
they could be too hot.
-
If they are all huddled together - then they
could be too cool.
-
They won't develop properly if too
cool
-
Neither will they be able to digest their
food properly and you could get crop stasis,
-
which could lead to sour crop
-
If you have a single Heat/infra-red lamp
over them, as a heat source, rather
than in a Brooder, where
the heat is fairly constant throughout -
Observe the chicks.
-
If they all cluster under the
heat-source, then they are feeling cold
-
If the are mostly finding spots away
from the heat-source, then they are
poss. too warm.
-
adjust the height of the Heat Lamp
accordingly.
WATER : Put in a shallow dish filled with clean pebbles or
marbles to stop the chicks getting into
the water
and drowning.
- Drowning
is one of the main
reasons for chicks dying in the
early days after hatching.
- Don't have the water or food dishes
right underneath the heat-lamp
- Also, don't have the feed and water
dishes too close together to help
prevent water getting into
the feed and feed getting into the
water!
- After the 1-2 weeks it may be safe
to remove most, if not all of the
pebbles from the water
- Always, make sure water is fresh and
still be observant for chicks in
difficulties.
FEED : (in Auto chick-feeders)
Chick crumbs + egg food +
Niger seed
(the
skinny, thin, black seeds that are
in commercial egg food - high in oil
and enjoyed by most birds -
- it's the little black specks
that the chicks peck at.
- This encourages them to start
eating.
FEEDING (5weeks +)
- After approx 5 weeks
start introducing
grit or ground
limestone to the
Quails diet.
- Commercial turkey or
game birds diets can
be fed as crumbles
- with approx
25-28% protein
+12.5%
Carbohydrates
inc. 1% calcium
- As the birds reach
maturity the
Calcium/phosphorous
levels must be
increased (2.5%-3%
calcium)
- The Calcium levels
should always be
higher than the
phosphorous levels
(approx 2/3rds
calcium to 1/3 phos.)
- If you have it
the wrong way
round or level
values - this
can lead to
bony-malformation.
- Adult Jap. Quail eat
between 14g - 18g of
food per day.
One observation (BULLYING)
- I
have made is that the bigger
chicks can often bully smaller
weaker ones and sometimes
even kill them
- - so be very
aware - I wish someone had
warned me - I found out the hard
way!
- I decided to fix a DVD or a
CD to the side of the
brooder - shiny side out -
this acts like a mirror then
the "Bully" chicks peck
at their own reflections rather than bullying their
smaller siblings.
- Also, I got a shallow dish
and put kitchen towel in the
bottom + small dish with
pebbles and water + food
dish - this kept the
smaller, weaker chicks
protected until they grew
big enough to fend for
themselves
and they still were either
under or in the heated
environment.
- Japanese quail are very
territorial and will
defend their "home" against
any new Quail you may
introduce.
- With this in mind - if
you wish to put 2 or more
groups together then you
must put them in a neutral
Aviary/cage that none of
them class as their own.
- This applies to just about
all species of birds and is
a rule that must be adhered
to when introducing new
birds into established
Aviaries - if you wish to
avoid confrontation and/or
injury/fatalities.
FLOOR COVERING
-
After first week, add a
layer of shavings or
Easibed to the
brooder/cage floor
-
- this will absorb
droppings
-
Easibed is: 25kg bales
of reconstituted wood
chip bought in Pet
shops/Saddlers/Agricultural
warehouses - it's a
horse bedding but used
extensively for bird's
in Nest boxes and on
Aviary floors.
JAPANESE QUAIL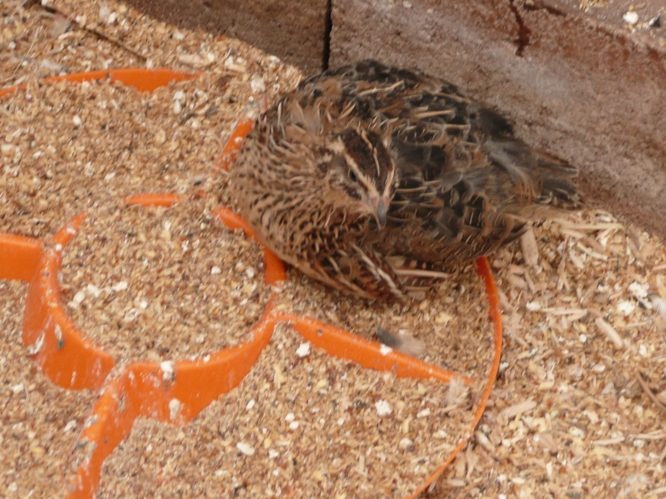 Japanese Quail Hen
-
The feather
quills start
coming thru at
about 1 week old
-
they are
sexually mature
at around 6 - 8
weeks old -
which beggars
belief really,
as then they can
start
producing eggs
and chicks of
their own from
approx 50 days
old!!
-
The hens can lay
approx 200 eggs
in their first
year.
-
Average
life-span of a
Quail is 2 - 2½
years
- altho I have
one that is 6
years old and
still going
strong!
-
Male Quail
are slightly
smaller and
lighter-weight
than the hens -
weighing approx
100-140g
-
Hen Quail
are slightly
bigger and
heavier than the
cock-birds . . .
120-16
SEXING JAPANESE
(dark
brown)/ITALIAN
QUAIL (fawn
coloured)
 Italian Quail
cock Italian Quail
cock
-
Japanese
Quail
are the Dark
brown ones
with pale
fawn and
black
streaks thru
their
feathers.
-
Jap. Hens
can be sexed
by their
light tan
feathers on
their breast
area with
black
speckling
up to the
throat area.
-
Jap.
Cocks
can be sexed
by the fact
they have
solid
coloured
rusty-brown
throats/breast
area - no
speckling.
-
Jap.
Cocks
also have a
cloacal
gland, which
is a bulbous
structure on
the upper
edge of
their vents.
-
this
secretes
a white
foamy
substance
when
they are
breeding-fit
- looks
like
frothy
droppings!
-
The
Italian
Quail can be
sexed in
exactly the
same way as
the Japanese
Quail.
-
The Japanese
and Italian
Quail are
often
interbred.
TRIOs of
QUAIL
-
When
Quail
are sold
- they
are
often
sold in
Trios
(one
cock
bird to
2 hens)
-
this is
because
the Cock
Quails
tend to
sexually
harass
the
females
mercilessly.
-
if
it
was
just
one
cock
to
one
hen
there
is a
high
possibility
the
cock
could
end
up
killing
the
female
or
she
would
just
die
from
exhaustion.
-
You
can
nearly
always
tell
the
females,
as
they
have
bald
patches
on
the
tops
of
their
heads
and
backs
from
the
cock
birds
"grabbing"
hold
of
them
to
have
their
"wicked
way".
|